
This is a tutorial on VSCode environment setup for C++ on MacOS platform. The MacOS version here used is Monterey Version 12.4. It does not require you to download the heavy weight XCode Application if you don’t really need it for your devlopment workflow. The command line tools and homebrew, however, are required. You can install both of them with using those two commands.
1
2
xcode-select –install
/bin/bash -c "$(curl -fsSL https://raw.githubusercontent.com/Homebrew/install/HEAD/install.sh)"
Now, shall we start.
Installing CMake
CMake can either be installed from its official website as a GUI application or with the Homebrew.
1
$ brew install cmake ninja
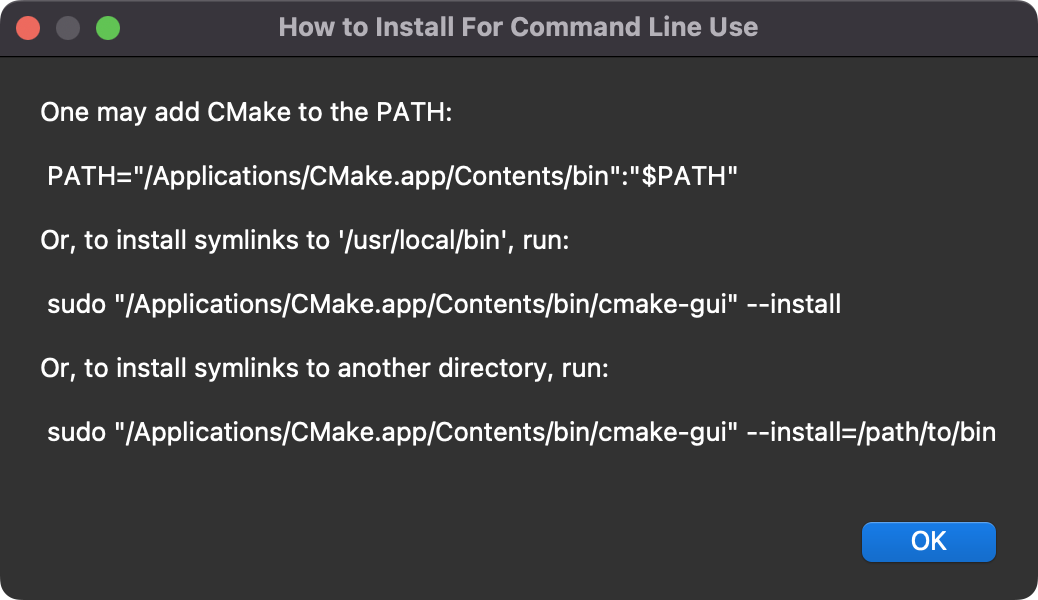
If you decide to install CMake from its website, then you will have to open up the application and click on the Tool option from the menu bar at top then follows its instruction to set up the command line version.
Installing OpenCV
Now we install opencv using Homebrew.
1
2
$ brew install opencv
$ brew install pkg-config
Homebrew will install the OpenCV library into /usr/local/Cellar/opencv. The path will be helpful when we configure the VSCode environment later.
Create C++ Project
Now we can test the installation by creating a C++ project. The firstly step would be to create the working directory.
1
$ mkdir demo && cd demo
Create the main.cpp file for testing. It will display the input image with the HighGUI window.
1
2
3
4
5
6
7
8
9
10
11
12
13
14
15
16
17
18
19
20
21
22
23
24
25
26
27
28
29
#include <iostream>
#include <opencv2/opencv.hpp>
#include <opencv2/highgui.hpp>

using std::cout;
using std::endl;

int main(int argc, char** argv) {

    if (argc != 2) {
        cout << "Expecting a image file to be passed to program" << endl;
        return -1;
    }

    cv::Mat img = cv::imread(argv[1]);

    if (img.empty()) {
        cout << "Not a valid image file" << endl;
        return -1;
    }

    cv::namedWindow("Demo Picture", cv::WINDOW_AUTOSIZE);
    cv::imshow("Demo Picture", img);

    cv::waitKey(0);
    cv::destroyAllWindows();

    return 0;
}
Now, we create the CMakeLists.txt file.
1
2
3
4
5
6
7
8
9
10
11
12
13
14
15
16
17
18
19
20
21
22
23
24
25
26
27
28
29
# This the cmake version that my machine currently installed
cmake_minimum_required(VERSION "3.23")

# name of this example project
project(demo)

# set OpenCV_DIR variable equal to the path to the cmake
# files within the previously installed opencv program
# you should check the path with your computer
set(OpenCV_DIR /opt/homebrew/Cellar/opencv/4.5.5_2/include/opencv4)

# Tell compiler to use C++ 14 features which is needed because
# Clang version is often behind in the XCode installation
set(CMAKE_CXX_STANDARD 14)
set(CMAKE_OSX_DEPLOYMENT_TARGET 13.0)

# configure the necessary common CMake environment variables
# needed to include and link the OpenCV program into this
# demo project, namely OpenCV_INCLUDE_DIRS and OpenCV_LIBS
find_package( OpenCV REQUIRED )

# tell the build to include the headers from OpenCV
include_directories( ${OpenCV_INCLUDE_DIRS} )

# specify the executable target to be built
add_executable(demo main.cpp)

# tell it to link the executable target against OpenCV
target_link_libraries(demo ${OpenCV_LIBS} )
Create a directory for the build, and build the C++ file as shown:
1
2
3
$ mkdir build && cd build
$ cmake ..
$ make
Add a testing image test.png into the working directory. And finally, the working directory would have a structure like this:
1
2
3
4
5
6
7
8
9
10
11
12
13
14
15
16
17
18
19
20
21
22
23
.
├── CMakeLists.txt
├── README.md
├── build
│   ├── CMakeCache.txt
│   ├── CMakeFiles
│   │   ├── 3.23.2
│   │   ├── CMakeDirectoryInformation.cmake
│   │   ├── CMakeOutput.log
│   │   ├── CMakeTmp
│   │   ├── Makefile.cmake
│   │   ├── Makefile2
│   │   ├── TargetDirectories.txt
│   │   ├── cmake.check_cache
│   │   ├── progress.marks
│   │   └── demo.dir
│   ├── Makefile
│   ├── cmake_install.cmake
│   ├── compile_commands.json
│   └── demo
├── main.cpp
├── main.dSYM
└── test.jpg (+ just added)
Test the build with the following command:
1
$ ./demo ../test.png
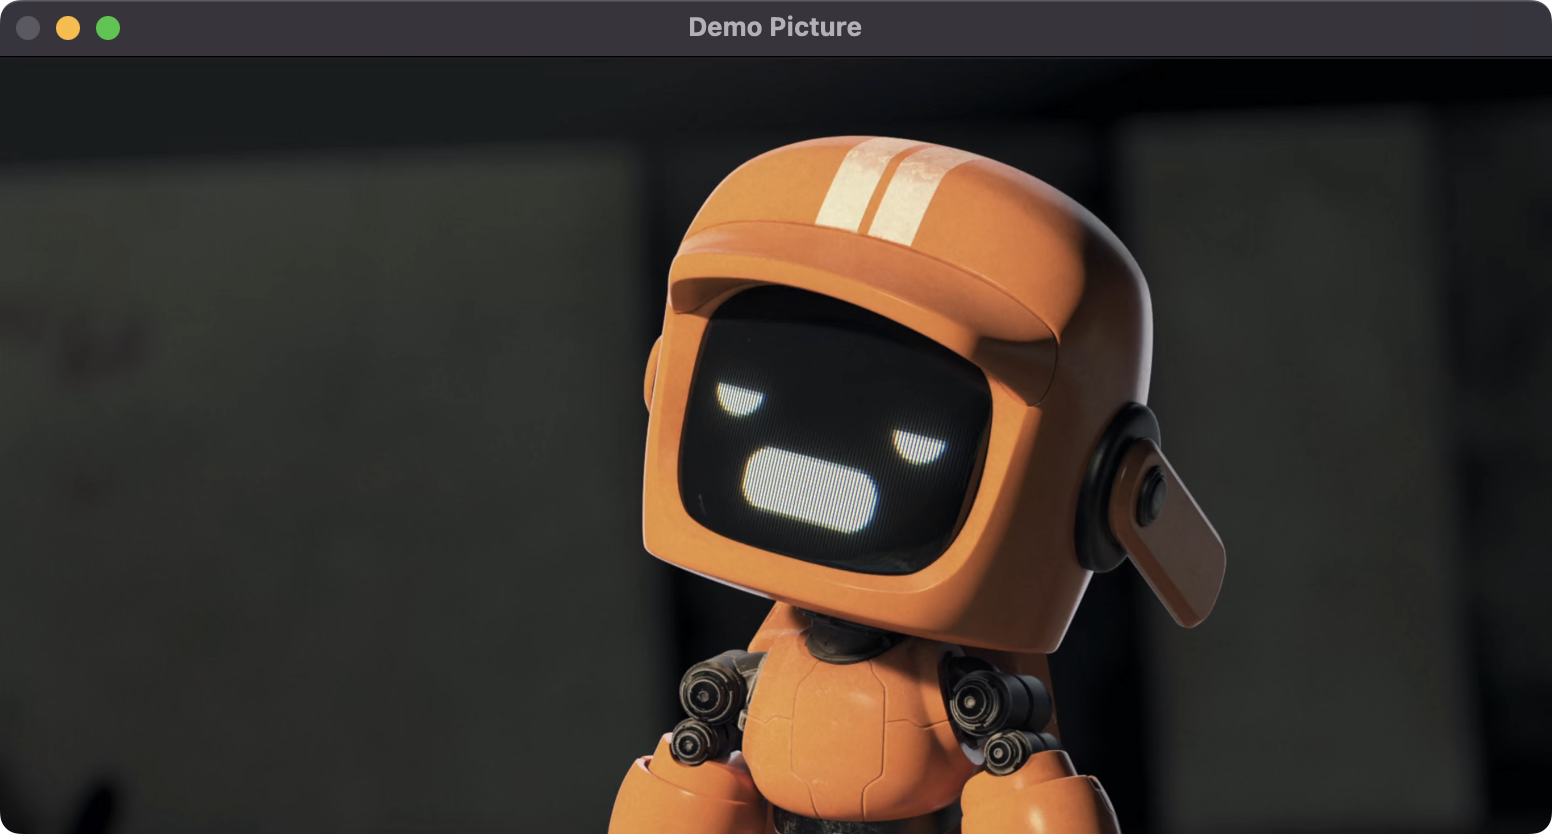
It should opens up a window like as below to display the testing image that you have put inside the working directory.
Configuring VSCode
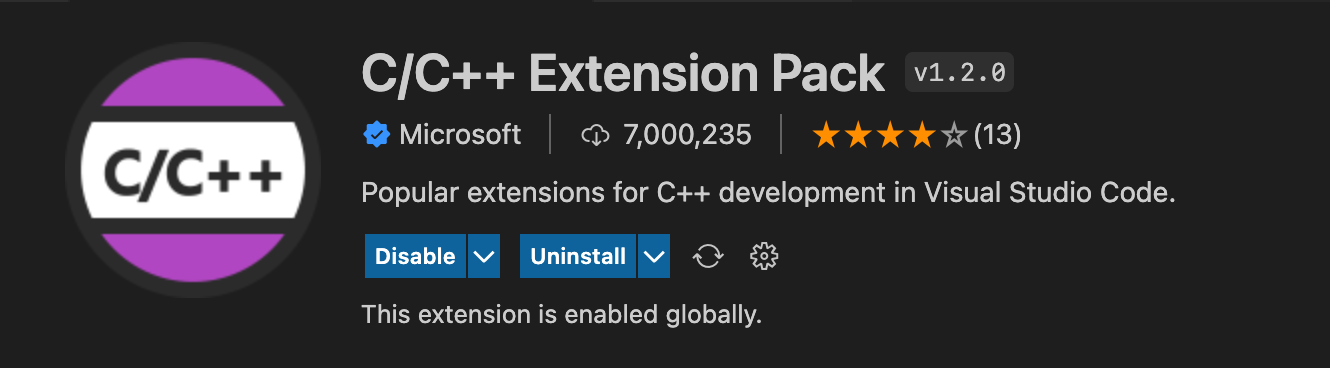
Firstly, we install the extension packages for C++.
Then we will have to add the C++ include path in the .vscode/c_cpp_properties.json. There are 2 in our case:
- Paths of C++ library
- Paths of OpenCV library
/usr/local/Cellar/opencv/4.5.5_2/include/opencv4The former can be obtained by typing the following command to the terminal.1
gcc -v -E -x c++ -
Which gives an an output like this, so we can add them into the extension settings: 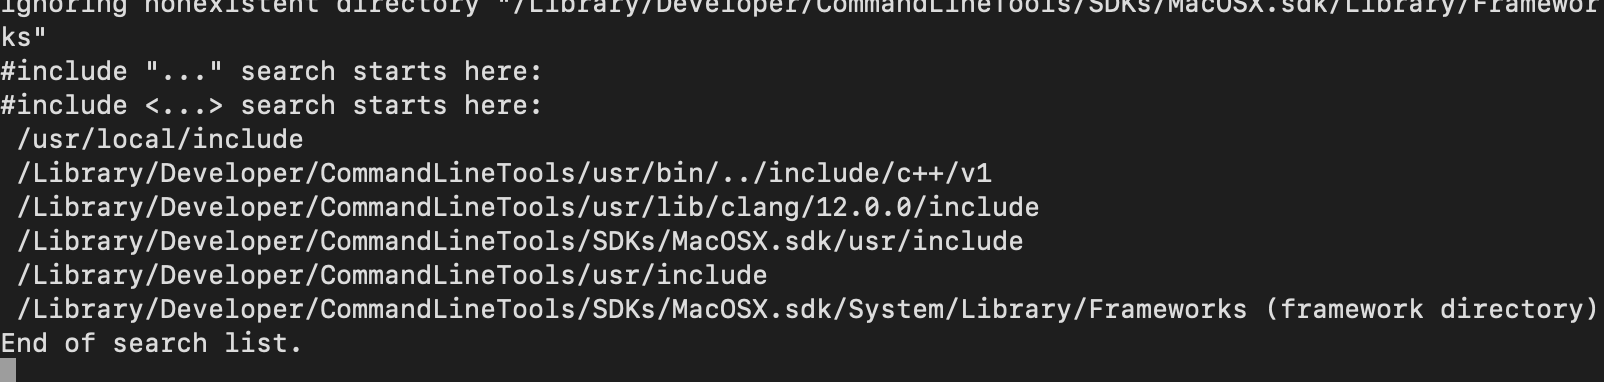
The .vscode/c_cpp_properties.json will look something similar to this:
1
2
3
4
5
6
7
8
9
10
11
12
13
14
15
16
17
18
19
20
21
22
23
24
25
26
{
    "configurations": [
        {
            "name": "Mac",
            "includePath": [
                "${workspaceFolder}/**",
                "/usr/local/include",
                "/Library/Developer/CommandLineTools/usr/bin/../include/c++/v1",
                "/Library/Developer/CommandLineTools/usr/lib/clang/12.0.0/include",
                "/Library/Developer/CommandLineTools/SDKs/MacOSX.sdk/usr/include",
                "/Library/Developer/CommandLineTools/usr/include",
                "/Library/Developer/CommandLineTools/SDKs/MacOSX.sdk/System/Library/Frameworks",
                "/usr/local/Cellar/opencv/4.5.5_2/include/opencv4"
            ],
            "defines": [],
            "macFrameworkPath": [],
            "compilerPath": "/usr/local/bin/gcc-11",
            "cStandard": "gnu17",
            "cppStandard": "gnu++17",
            "intelliSenseMode": "macos-gcc-x64",
            "configurationProvider": "ms-vscode.cmake-tools"
        }
    ],
    "version": 4
}
Debugging the Code
Now it is the time to configure the debugger for the C++ project. It requires a .vscode/launch.json for it to work.
1
2
3
4
5
6
7
8
9
10
11
12
13
14
15
16
17
{
    "version": "0.2.0",
    "configurations": [
        {
            "name": "(lldb) Debugger",
            "type": "cppdbg",
            "request": "launch",
            "program": "${workspaceFolder}/build/demo",
            "args": ["test.jpg"],
            "stopAtEntry": true,
            "cwd": "${workspaceFolder}",
            "environment": [],
            "externalConsole": false,
            "MIMode": "lldb"
        }
    ]
}
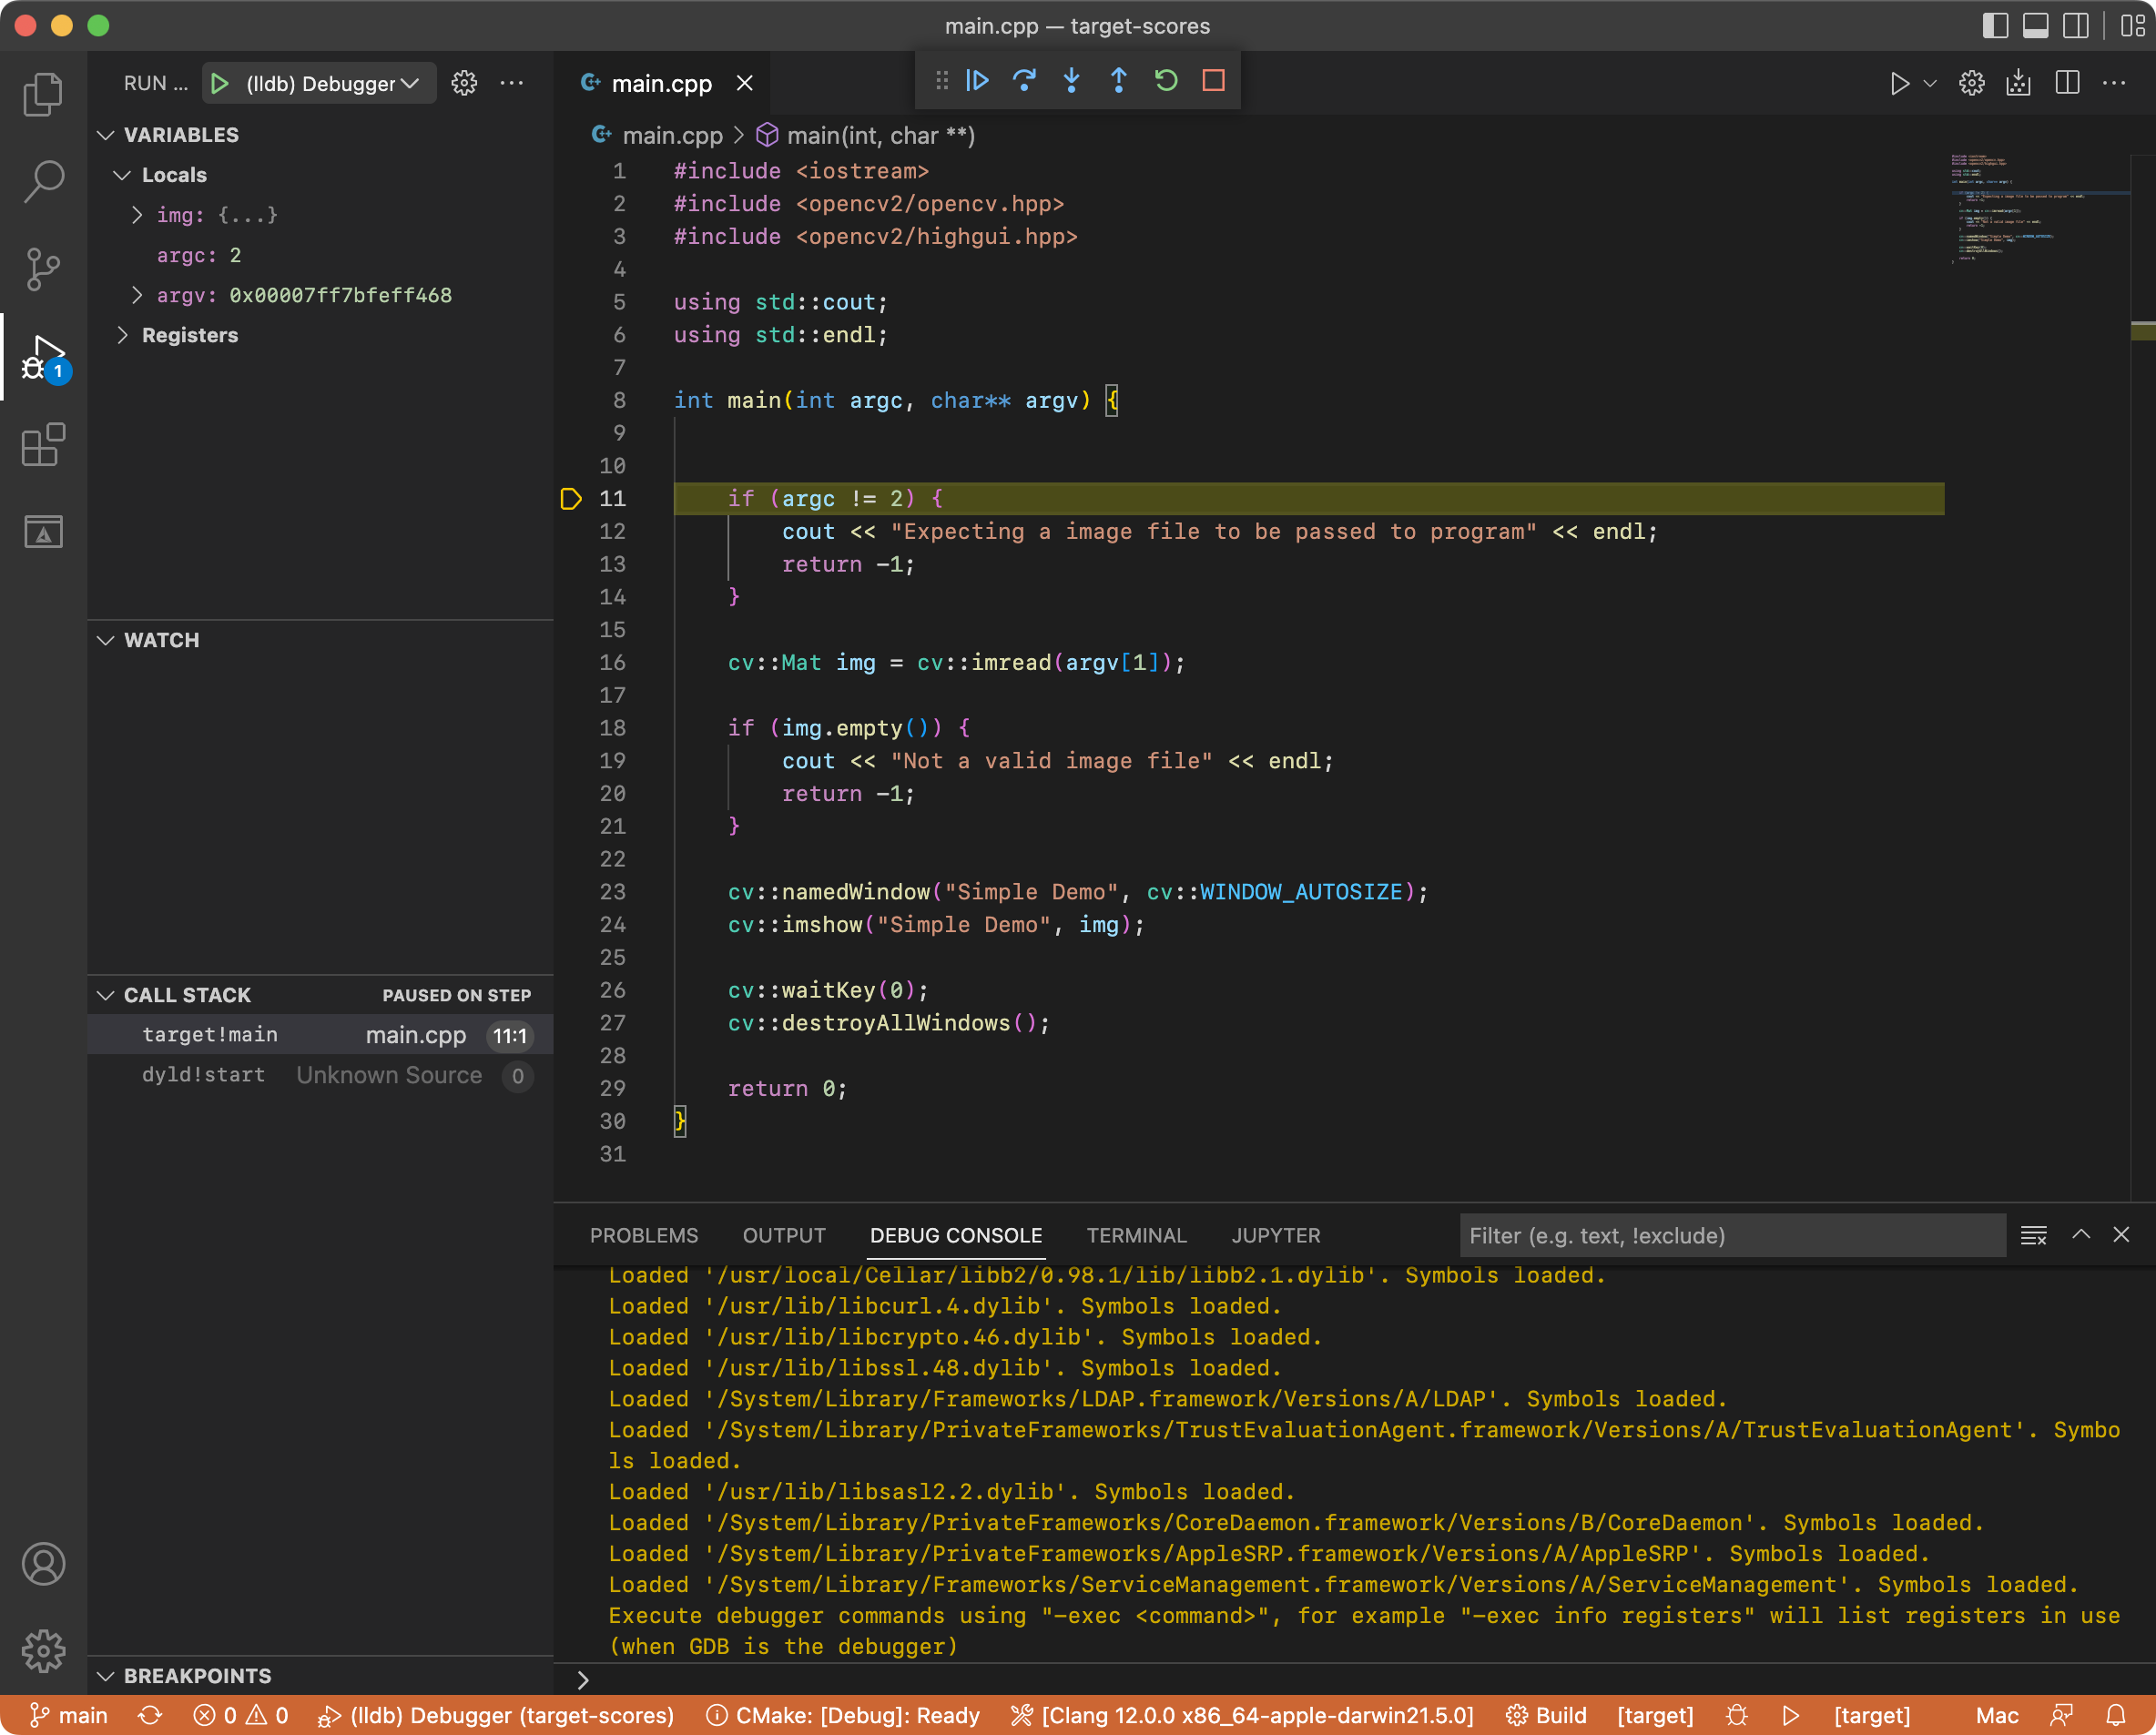
We can open up the debugger view from the VSCode sidebar. And It will run as follows:
More information about the debugging configurations can be found from the official VSCode documentation.